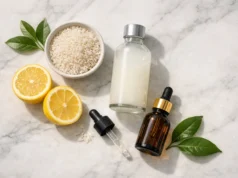





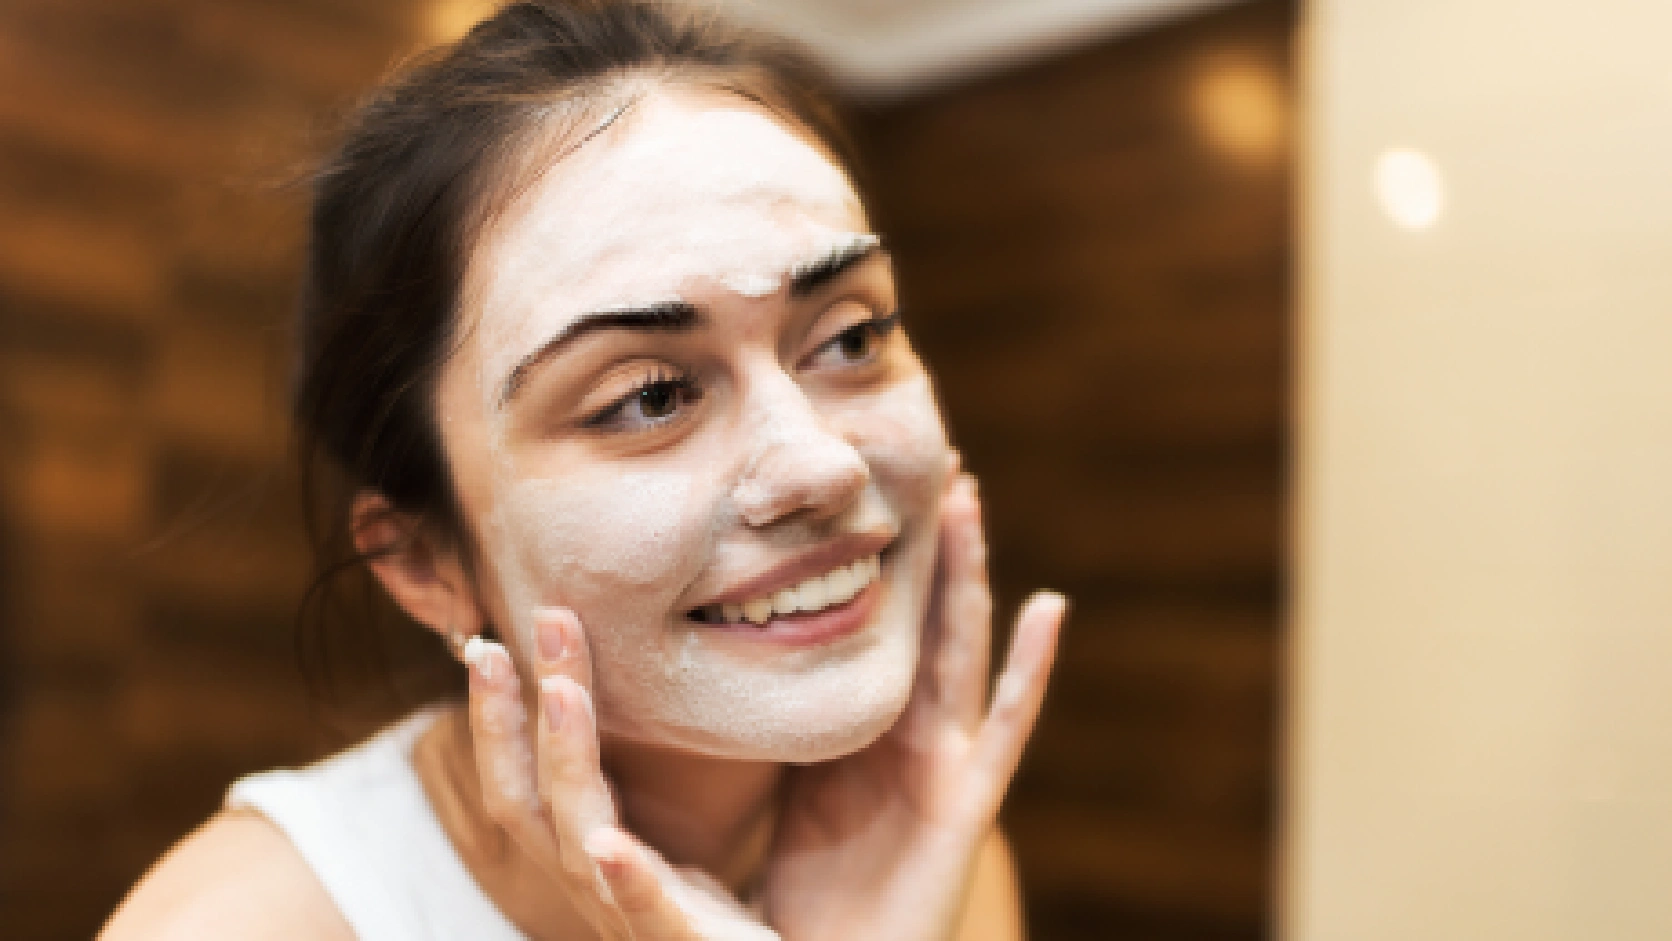
Rice face masks are a simple home remedy made with rice flour, cooked rice, or rice water. They are popular because rice contains compounds linked to soothing, brightening, and skin-conditioning effects, while ingredients like honey, yoghurt, and aloe vera can help tailor the mask for dry, oily, or sensitive skin. Research on rice-derived ingredients in skincare shows potential anti-inflammatory, moisturizing, and skin-supporting benefits, but DIY masks still need patch testing and realistic expectations.
Quick rice face mask recipe
- Mix 2 tablespoons rice flour with 1 tablespoon yoghurt and 1 teaspoon honey.
- Apply to clean skin for 10 to 15 minutes.
- Rinse with lukewarm water and apply moisturizer.
- Use 1 to 3 times a week based on your skin type.
Rice Face Mask Benefits for Skin
Rice isn’t just a kitchen staple. Rice-derived ingredients have anti-inflammatory, moisturizing, and skin-care potential in dermatology literature
Rice contains several active compounds that make it effective for skincare:
- Ferulic acid: antioxidant support
- Allantoin: soothing effect
- Inositol: skin-conditioning support
- Gamma-oryzanol: antioxidant and anti-inflammatory potential
Ingredients for a Rice Face Mask at Home (With Budget-Friendly Alternatives)
You only need rice or rice flour, one liquid ingredient, and a mixing bowl to make a basic rice face mask at home.
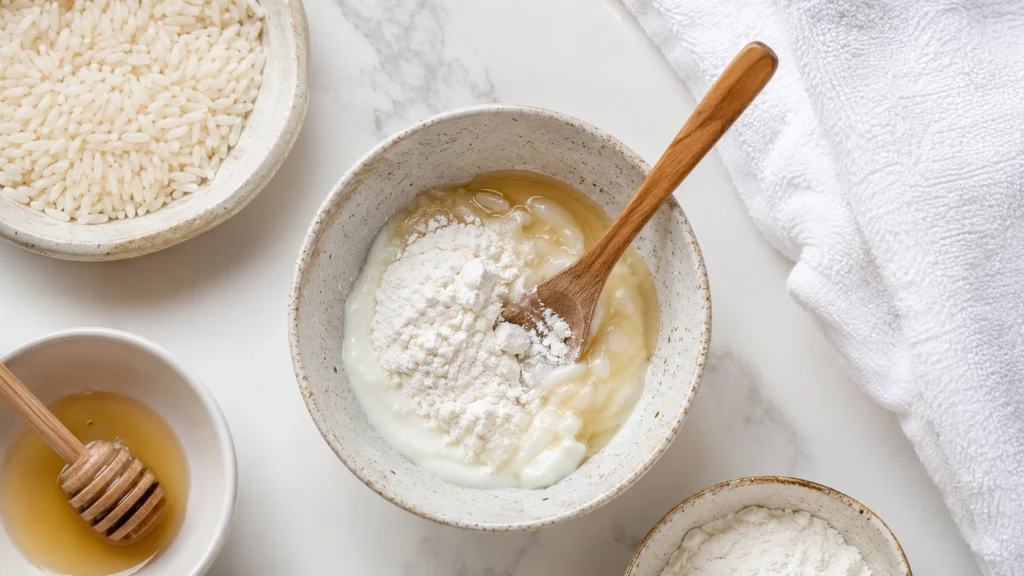
Basic Ingredients
Rice Options:
- Basmati Rice: Best for oily skin due to lower starch content (₹80-120 per kg)
- Jasmine Rice: Ideal for dry skin with higher moisture retention (₹100-150 per kg)
- Regular White Rice: Works for all skin types, most budget-friendly (₹40-60 per kg)
- Rice Flour: Pre-ground option for quick masks (₹30-50 per 500g)
Complementary Ingredients:
- Rose water (₹50-100 per 100ml)
- Raw honey (₹150-300 per 250g)
- Fresh aloe vera gel (₹80-150 per 100g)
- Plain yoghurt/dahi (₹40-60 per 400g)
- Milk or milk cream (₹60-80 per liter)
Equipment Options
Traditional Methods (No Blender Required):
- Mortar and Pestle (Silbatta): Available at any Indian kitchen store for ₹200-500
- Stone Grinding Plate: Traditional method used across India for ₹300-800
- Simple Bowl and Spoon: For pre-ground rice flour masks
Modern Options:
- Blender or mixer grinder (₹1,500-3,000)
- Food processor (₹2,000-5,000)
Pro Tip: If you don’t have any grinding equipment, you can soak rice overnight to soften it, then mash it with a fork or your hands. This creates a paste that’s perfect for sensitive skin.
How to Prepare Rice Water for Face Masks (3 Methods Compared)
Rice water is the base of most effective rice masks, and the preparation method you choose affects the final results. Here are three proven techniques:
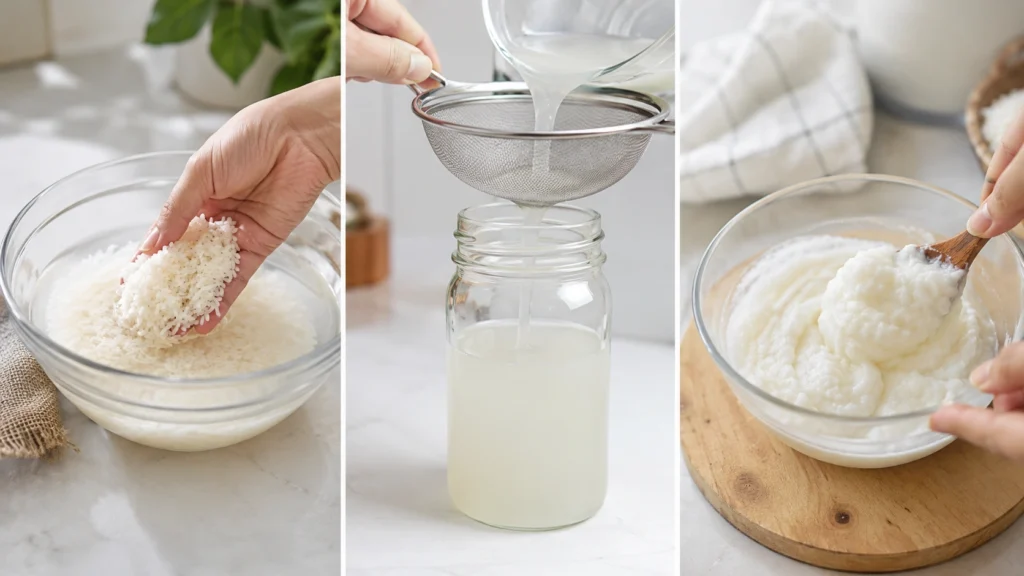
Method 1: Soaking (Easiest for Beginners)
- Rinse ½ cup rice thoroughly under cold water 2-3 times
- Place rice in a bowl with 2 cups water
- Let it soak for 30 minutes to 2 hours at room temperature (Source: https://koreancosmetics.cy/rice-based-face-masks-benefits-and-how-to-make-them-at-home/)
- Strain and collect the milky water
- Store in refrigerator for up to 5 days
Best For: Quick preparation, sensitive skin Shelf Life: 5 days refrigerated
Method 2: Boiling (Most Concentrated)
- Rinse ½ cup rice thoroughly
- Add rice to 3 cups water in a pot
- Bring to boil, then simmer for 15-20 minutes
- Strain while warm and let cool
- Store in glass container in refrigerator
Best For: Maximum nutrient extraction, all skin types Shelf Life: 7 days refrigerated
Method 3: Fermentation (Korean Glass Skin Secret)
- Follow soaking method steps 1-4
- Leave strained rice water at room temperature for 24-48 hours
- You’ll notice a slightly sour smell—this is normal
- Dilute fermented water 1:1 with fresh water before use
- Store in refrigerator
Best For: Brightening, anti-aging benefits Shelf Life: 3-4 days refrigerated
Comparison Table:
| Method | Preparation Time | Nutrient Level | Best For | Shelf Life |
|---|---|---|---|---|
| Soaking | 30 min – 2 hours | Moderate | Sensitive skin | 5 days |
| Boiling | 20-25 minutes | High | All skin types | 7 days |
| Fermentation | 24-48 hours | Highest | Brightening | 3-4 days |
Note: Always perform a patch test before using fermented rice water, as it’s more potent and may cause irritation on very sensitive skin.
Rice Water Face Mask vs Rice Flour Mask for Face
| Type | Best for | Texture | Use frequency |
|---|---|---|---|
| Rice water face mask | Dull, normal, combination skin; lighter feel | Thin/light | 2 to 3 times weekly |
| Rice flour mask for face | Oily skin or gentle exfoliation focus | Thicker/paste | 1 to 3 times weekly depending on skin type |
| Cooked rice mask | Dry or sensitive skin needing a softer mask | Creamy/chunky | 1 to 2 times weekly |
How to Make Korean Rice Face Mask
This Korean-style rice face mask uses rice water, cooked rice, and honey to make a soft, hydrating paste.
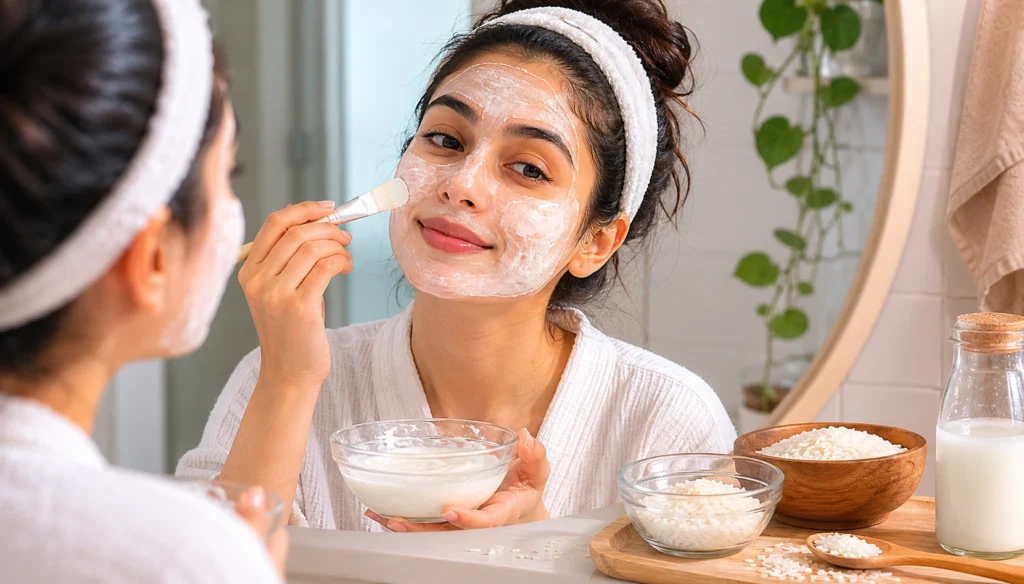
Ingredients:
- ½ cup basmati or jasmine rice
- 2 cups water
- 1 tablespoon raw honey
- 1 tablespoon rose water (optional)
Step-by-Step Instructions:
- Prepare Rice Water: Rinse rice 3 times, then soak in water for 1-2 hours. Strain and keep the milky water.
- Ferment (Optional): Leave rice water at room temperature for 24 hours for enhanced brightening effects.
- Cook the Rice: Use the soaked rice to cook as normal. Once cooked and slightly cooled, take 2 tablespoons of cooked rice.
- Create the Paste: Mash the cooked rice with a fork or blend until smooth. Add honey and 2-3 tablespoons of rice water to achieve a spreadable consistency.
- Add Rose Water: Mix in rose water for extra soothing benefits.
Application Technique:
- Cleanse your face thoroughly
- Apply mask in upward circular motions
- Leave on for 15-20 minutes (don’t exceed 20 minutes to avoid irritation)
- Rinse with lukewarm water
- Follow with your regular moisturizer
This mask may help skin feel softer and look fresher with regular use, but results vary.
Pro Tip: Apply this mask in the evening, as the brightening ingredients work best when your skin is in repair mode overnight.
Best Rice Face Mask Recipe by Skin Type
Not all rice masks are created equal—customizing ingredients for your specific skin type makes the difference between okay results and transformative ones. According to Dr. DM Mahajan, Senior Consultant Dermatology at Indraprastha Apollo Hospital Delhi, ‘The rice flour works as a natural exfoliator, removing dead skin cells, unclogging pores, and improving skin texture‘.
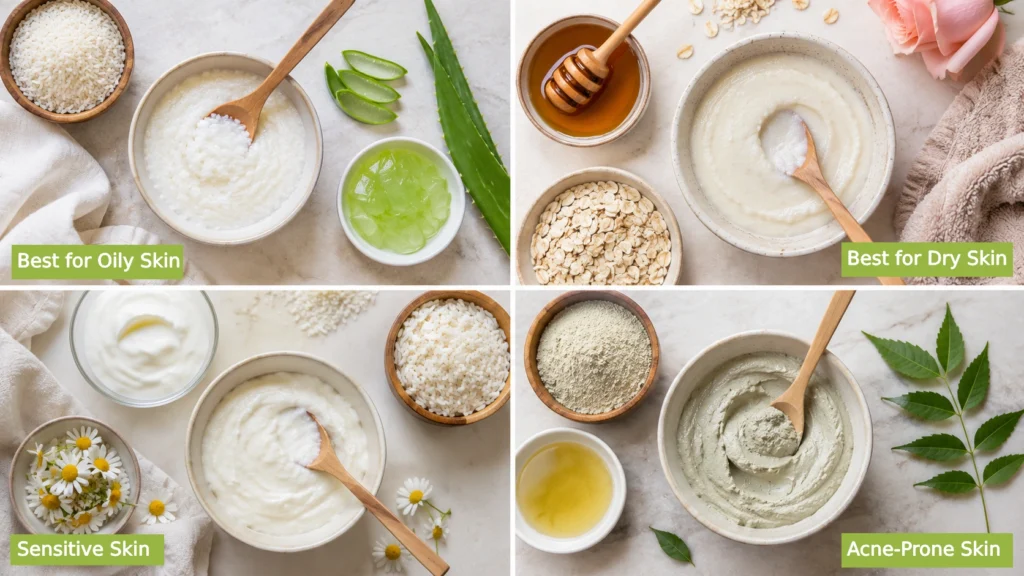
For Oily Skin
Recipe:
- 2 tablespoons rice flour
- 1 teaspoon multani mitti (fuller’s earth)
- 2-3 drops tea tree oil
- Rose water to mix
Why It Works: Multani mitti absorbs excess oil, while tea tree oil controls acne-causing bacteria.
Frequency: 3-4 times weekly
For Dry Skin
Recipe:
- 2 tablespoons cooked rice (mashed)
- 1 tablespoon raw honey
- 1 tablespoon milk cream (malai)
- ½ teaspoon almond oil
Why It Works: Honey and milk cream provide deep hydration, while almond oil locks in moisture.
Frequency: 1-2 times per week
For Sensitive Skin
Recipe:
- 2 tablespoons rice flour
- 2 tablespoons fresh aloe vera gel
- 1 teaspoon oat flour
- Plain water or rose water to mix
Why It Works: Aloe vera soothes inflammation, while oats provide gentle exfoliation without irritation.
Frequency: 1-2 times weekly
For Acne-Prone Skin
Recipe:
- 2 tablespoons rice flour
- 1 teaspoon neem powder
- ½ teaspoon turmeric
- Yoghurt to mix
Why It Works: Neem has antibacterial properties, turmeric reduces inflammation, and yoghurt’s lactic acid gently exfoliates.
Frequency: 2-3 times weekly
For Aging/Mature Skin
Recipe:
- 2 tablespoons cooked rice (mashed)
- 1 capsule vitamin E oil
- 1 teaspoon rosehip oil
- 1 tablespoon yoghurt
Why It Works: Vitamin E and rosehip oil are powerful antioxidants that fight free radical damage and boost collagen production.
Frequency: 2 times weekly
Quick Skin Type Test: If your T-zone gets shiny by midday, you’re likely oily. If you feel tightness after washing, you’re dry. If you react to new products easily, you’re sensitive.
How to Make Rice Face Mask Without a Blender
Method 1: Mortar and Pestle (Silbatta) Technique
- Soak 3 tablespoons rice in water for 2-3 hours until softened
- Drain completely
- Place rice in mortar and grind in circular motions for 5-7 minutes
- Add a few drops of water if needed to create paste
- Mix in honey or other ingredients
Best For: Creating smooth, fine-textured masks Time Required: 10-15 minutes
Method 2: Stone Grinding Method (Traditional)
- Soak rice overnight (8-10 hours)
- Place softened rice on a clean grinding stone
- Use circular grinding motions with the roller
- Add water gradually to achieve desired consistency
- This method creates the finest, most traditional paste
Best For: Authentic texture, sensitive skin Time Required: 15-20 minutes
Method 3: Hand-Mashing with Fermentation
- Cook rice until very soft (slightly overcooked)
- Let it cool to room temperature
- Mash thoroughly with a fork or your hands
- Add rice water or milk to thin the consistency
- Mix in complementary ingredients
Best For: Quick preparation, beginners Time Required: 5-10 minutes
Pro Tip: If you’re using rice flour instead of whole rice, you can skip all grinding methods entirely. Just mix 2 tablespoons rice flour with liquid ingredients until you get a spreadable paste.
How to Apply a Rice Flour Mask for Face
Step-by-Step Application
- Cleanse Thoroughly: Remove all makeup and wash face with a gentle cleanser
- Steam (Optional): Hold face over warm water for 2-3 minutes to open pores
- Apply Evenly: Use clean fingers or a brush to spread mask in upward strokes
- Avoid Sensitive Areas: Keep away from eyes and lips
- Timing: Leave on for 10-20 minutes—never exceed 20 minutes to avoid irritation (Source: https://koreancosmetics.cy/rice-based-face-masks-benefits-and-how-to-make-them-at-home/)
- Remove Gently: Rinse with lukewarm water using circular motions
- Tone and Moisturize: Follow with your regular skincare routine
Frequency Guidelines by Skin Type
- Oily/Acne-Prone: 3-4 times weekly
- Normal/Combination: 2-3 times weekly
- Dry/Sensitive: 1-2 times weekly
- Mature Skin: 2 times weekly
Best Time to Apply
Evening Application (Recommended):
- Skin repairs itself overnight
- Brightening ingredients work better during sleep
- No sun exposure risk after application
Morning Application:
- Good for hydrating masks before makeup
- Use lighter formulations
- Always follow with SPF 30+
Rice Face Mask Safety Tips
Patch test every new rice face mask before applying it to your whole face.
Mandatory Patch Test Protocol
- Mix a small amount of your rice mask
- Apply a dime-sized amount to inner forearm or behind ear
- Leave on for 20 minutes
- Rinse and wait 24 hours
- Check for redness, itching, or irritation
- If no reaction occurs, it’s safe to use on face
When to Avoid Rice Masks
Do NOT use if you have:
- Active eczema or psoriasis flare-ups
- Open wounds or cuts on face
- Severe cystic acne (consult dermatologist first)
- Known rice allergy
- Recently undergone chemical peels or laser treatments (wait 2 weeks)
Safety Guidelines
- Never exceed 20 minutes: Longer application doesn’t mean better results
- Don’t use daily: Even gentle masks can over-exfoliate
- Avoid eye area: Rice particles can irritate delicate skin
- Use clean tools: Contaminated applicators can cause infections
- Check expiration: Homemade masks last 3-7 days refrigerated
Signs of Irritation
Stop use immediately if you experience:
- Burning or stinging sensation
- Excessive redness
- Swelling
- Itching that persists after rinsing
- Breakouts in new areas
Storage Safety
- Store in clean, airtight glass containers
- Always refrigerate prepared masks
- Label with preparation date
- Discard if you notice mold, discoloration, or bad smell
- Never share masks with others
Disclaimer: If you have chronic skin conditions, consult a dermatologist before starting any new skincare routine. Rice masks complement professional treatments but don’t replace them.
Common Rice Face Mask Mistakes
Even with perfect recipes, things can go wrong—here’s how to fix the most common rice mask issues. This troubleshooting guide will save you time and frustration:
Problem 1: Mask is Too Runny
Causes:
- Too much liquid added
- Rice not ground finely enough
- Using jasmine rice (higher moisture content)
Solutions:
- Add more rice flour, 1 teaspoon at a time
- Mix in oat flour or cornstarch to thicken
- Refrigerate for 10-15 minutes to firm up
- Use less water in next batch
Problem 2: Mask is Too Thick/Dry
Causes:
- Insufficient liquid
- Over-grinding rice
- Mixture dried out during storage
Solutions:
- Add rose water or plain water, 1 teaspoon at a time
- Mix in aloe vera gel for creamier texture
- Add a few drops of oil (jojoba or almond)
- Prepare fresh batch if stored mask has dried
Problem 3: Skin Feels Tight After Use
Causes:
- Left mask on too long
- Didn’t moisturize after
- Used clay-based recipe on dry skin
Solutions:
- Reduce application time to 10-15 minutes
- Apply hydrating serum immediately after rinsing
- Switch to honey-based recipe for dry skin
- Use lukewarm water, not hot, for rinsing
Problem 4: Breakouts After Using Mask
Causes:
- Allergic reaction to ingredient
- Contaminated tools or container
- Over-exfoliation
- Pores clogged by thick mask
Solutions:
- Stop use immediately and do patch test
- Sterilize all tools before next use
- Reduce frequency to once weekly
- Use lighter, water-based formulation
- Ensure thorough rinsing
Problem 5: No Visible Results After 3 Weeks
Causes:
- Inconsistent application
- Wrong recipe for skin type
- Unrealistic expectations
- Other skincare products interfering
Solutions:
- Commit to consistent schedule (2-3 times weekly)
- Reassess skin type and adjust recipe
- Take before/after photos to track subtle changes
- Simplify skincare routine to isolate effects
- Give it full 4-6 weeks before judging
Quick Reference Table:
| Problem | Quick Fix | Prevention |
|---|---|---|
| Too runny | Add rice flour | Measure liquids carefully |
| Too thick | Add rose water | Don’t over-grind rice |
| Skin tightness | Moisturize immediately | Reduce application time |
| Breakouts | Stop use, patch test | Use clean tools |
| No results | Be consistent | Match recipe to skin type |
Rice Facial at Home: Simple 15-Minute Routine
- Cleanse with a gentle face wash.
- Apply plain rice water with a cotton pad for 2 minutes.
- Use a rice flour mask for 10 minutes.
- Rinse and apply moisturizer.
- Finish with sunscreen if done in the daytime.
Rice Face Mask FAQs
How do you make a rice face mask?
The simplest method is to soak ½ cup rice in water for 1-2 hours, strain the rice water, then mash 2 tablespoons of cooked rice with 1 tablespoon honey and 2-3 tablespoons of the rice water. Apply this paste to clean skin for 15-20 minutes, then rinse with lukewarm water. For a no-cook version, mix 2 tablespoons rice flour with rose water and honey until you get a spreadable consistency.
Is rice good for a face mask?
Yes, rice can work well in a face mask because it is commonly used for gentle exfoliation and skin-soothing DIY recipes. Rice flour and rice water are often mixed with honey, yoghurt, or aloe vera, but patch testing is still important.
What can I mix with a rice mask for my face?
The best ingredients to mix with rice masks depend on your skin type: honey and milk cream for dry skin, multani mitti and tea tree oil for oily skin, aloe vera and oat flour for sensitive skin, and neem with turmeric for acne-prone skin. Other effective additions include rose water (soothing), yoghurt (gentle exfoliation), vitamin E oil (anti-aging), lemon juice (brightening—use cautiously), and sandalwood powder (cooling).
How to get Korean glass skin with rice water?
Use rice water as part of a simple routine, not as a miracle fix. You can apply plain or diluted rice water after cleansing and use a rice mask 2 to 3 times a week for a smoother, fresher look over time.
Can I use a homemade rice mask every day?
No, you shouldn’t use rice masks daily—even gentle natural exfoliants can over-strip your skin’s protective barrier if used too frequently. The recommended frequency is 3-4 times weekly for oily or acne-prone skin, and 1-2 times weekly for normal to dry skin. Daily use can lead to irritation, redness, and increased sensitivity.
Which rice is good for face skin?
Regular white rice or rice flour works well for most homemade face masks. Rice flour is the easiest option because it mixes quickly and gives a smoother paste.
How many times should I apply rice water to my face?
You can apply rice water as a toner twice daily (morning and evening), but use rice water masks only 2-3 times per week to avoid over-exfoliation. As a toner, rice water is gentle enough for daily use—simply soak a cotton pad and sweep across clean skin before moisturizer. For masks, limit to 15-20 minutes per application, never exceeding 20 minutes to prevent irritation.
Conclusion
Rice face masks are easy to make at home with rice flour, cooked rice, or rice water. Choose a recipe based on your skin type, use it 1 to 3 times a week, and always patch test before full use.
References
- Journal of Cosmetic Dermatology review on dermatological uses of rice products
- Indian Express: Dermatologists explain benefits and precautions of the viral Korean rice flour mask
- Personal Care Insights summary on rice water and topical arsenic discussion